Connecting IT Components, Peripherals and Storage Media
The components that make up an IT system will vary from system to system, but these along with any peripherals and storage media all form an important part of the whole. It is important, then, to be able to evidence the fact that you are able to do this safely and accurately. Whether it be plugging a new mouse or keyboard in, making use of a USB storage drive, or making sure the monitor is properly plugged into the system itself in the case of a personal computer.
In this section, we will explore how you can go about being able to evidence that you are able to do this for a suitable practical unit.
Note: These instructions are based on Windows 10. Where possible information has been provided in the “Useful Links” section at the bottom of this page for Mac OS X. If unavailable then using your own knowledge, manuals, or internet searches should provide similar routes to evidencing this if necessary.
Proving Physical Component Connection Electronically
How you will achieve evidence all depends on what component you plan to introduce. In the case of a peripheral or device, you plan to connect to the system whether wirelessly or through a wired connection, you will be able to make use of Device Manager and in the case of storage media, the file system explorer (figure 1.2) in order to provide screenshots of the device being connected.
To enter the Device Manager you can either:
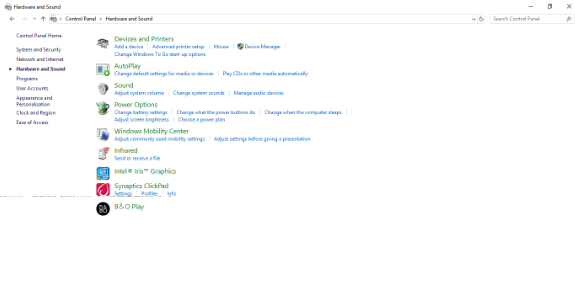
- Navigate to the Hardware and Sound section of the control panel, as in figure 1.1.
- Open the start menu from the bottom left or by pressing the windows key and type “Device Manager”.
- Open a “Run” window by pressing the Windows Key + R and type “devmgmt.msc” followed by enter.